Battle of Jebel Heitan, 890 Paratroop Brigade under attack - 1956
The portion of the 890 under Sharon's command continued to advance to meet with the 1st Brigade. En route, Sharon assaulted Themed, and was able to storm the town through the Themed Gap, and was able to capture the settlement. On the 30th, Sharon linked up with Eytan near Nakla.
Dayan had no more plans for further advances beyond the passes, but Sharon decided to attack the Egyptian positions at Jebel Heitan. Sharon would send his lightly armed paratroopers against dug-in Egyptians supported by air and heavy artillery, as well as tanks. Although the Israelis succeeded in forcing the Egyptians to retreat, the heavy casualties sustained would surround Sharon with a lot of controversy. Most of the deaths sustained by the Israelis in the entire operation were sustained at Jebel Heitan.
Re-fought with our 1967 forces!
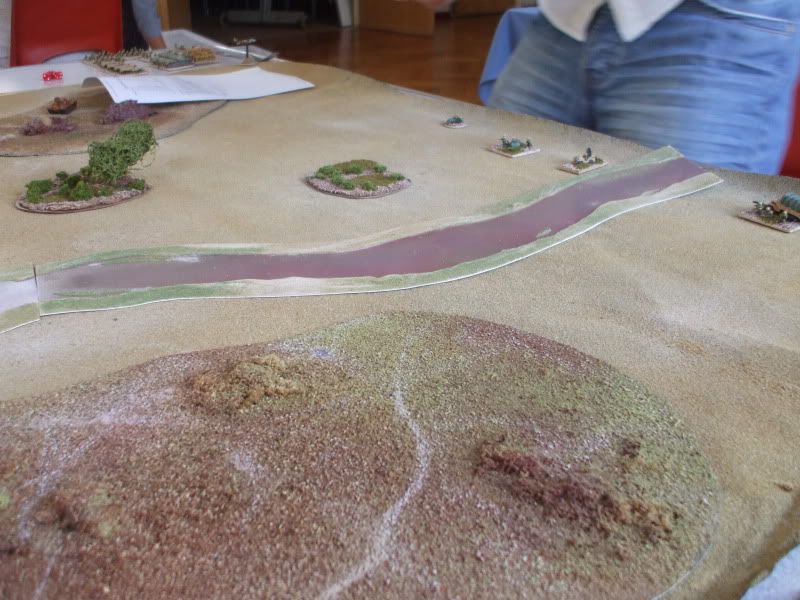
The Egyptian’s start dug in, in the first third of the table, the Israeli Para’s enter the opposite short edge, the infantry and armour reinforcements arrive in Turn 5, using flank deployment, the game lasts for 12 Turns. In the original battle the Para’s suffered heavy loses but the reinforcements drove out the Egyptians.
Israeli Forces
1 x CO
3 x HQ
1 x FAO
1 x Reece 4x4
6 x Infantry Regulars
6 x Infantry Para’s
6 x infantry Upgrade M20 Bazooka
2 x Support Unit (RR, 105mm, 4x4)
2 x Infantry Support Unit (mortar, 81mm)
3 x Tank Unit (Isherman)
3 x Tank Unit (M48 Magach, 105mm)
3 x Artillery Unit (122mm)
1 x Aircraft Unit (Mystere IV)
Egyptian Forces
1 x CO
2 x HQ
1 x FAO
1 x FAC
2 x Reece 4x4
6 x Infantry Unit (conscripts)
6 x Infantry Upgrade (M20 Bazooka)
3 x Support Unit (Mortars, 81mm)
4 x Tank Unit (T-34/85)
3 x Tank Unit (T-54/55)
3 x Tank Unit (T-10)
2 ATGW Units (AT-1 Snapper, 4x4s)
2 x Artillery Unit (122mm)
1 x Aircraft Unit (SU-7 Fitter)
3 x Transport Unit (BTR-152)
1 x Ambush Asset (forward patrol)
Turn 1:
The Israeli’s have air superiority
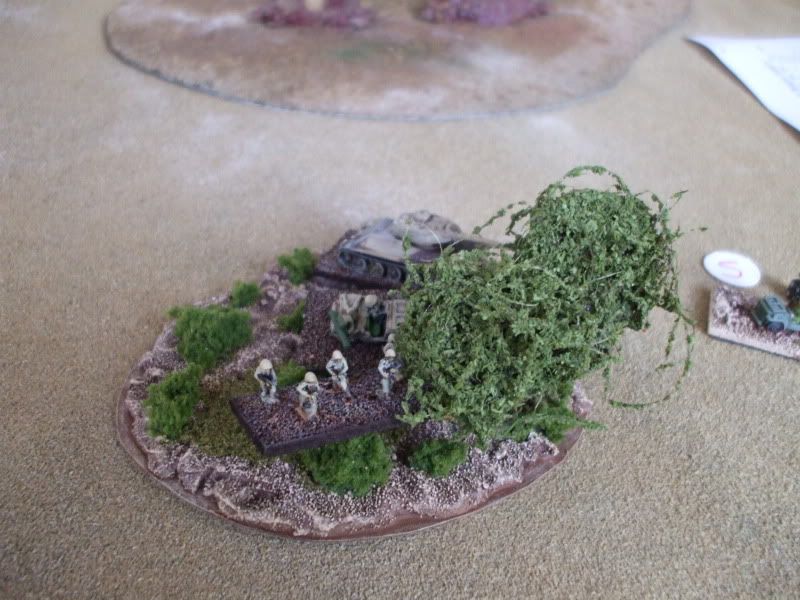
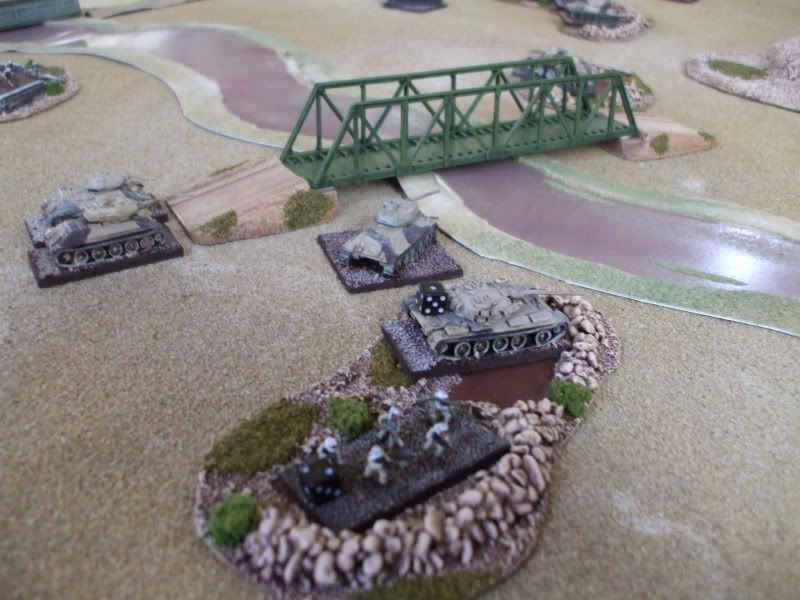
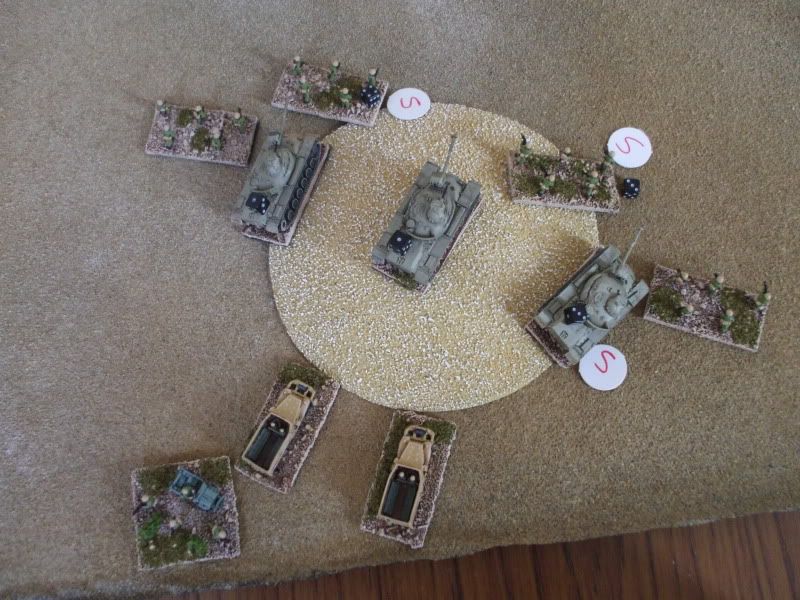
The Israeli Para’s advance across the desert to attack the Egyptian defensive line with a double one they make a fair amount of movement, however they immediately stumble into the ambush laid by the Arabs forward patrol of a T-34, Snapper and a section of infantry, they pile on the fire power and suppress two stands of Para’s. The Para’s in turn suppress the Egyptian infantry, the Para’s 81mm mortar tem deploy under fire.
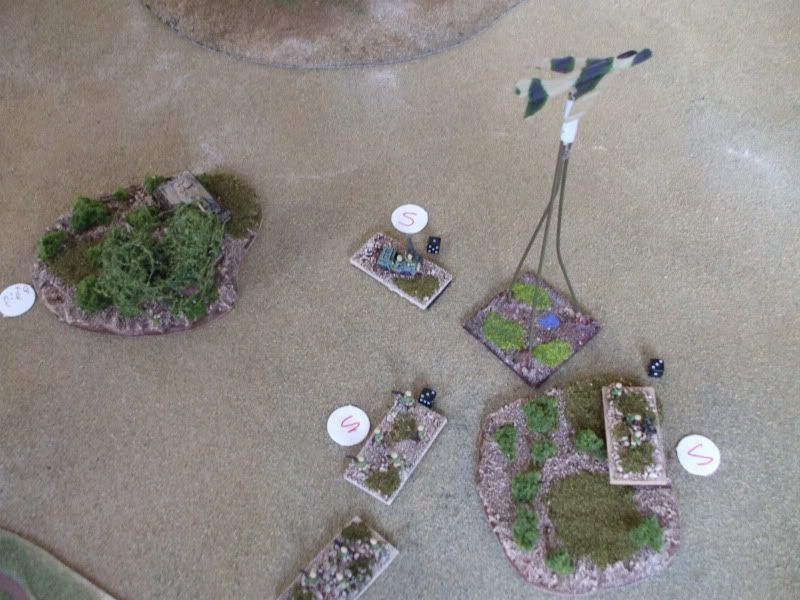
In an attempt to further stall the advance of the Para’s the Egyptians send in their plane, which is pretty impressive as it needed a 5 to appear, survives AA attack and KO’s a stand of Para’s! Not to be out down by his counter part the FAO has go two and KO’s another stand of Para’s. As does a long range volley from the Egyptian 81mm mortars and a long range shot from the second snapper KO’s the Recoilless Rifle 4x4!
The Para’s KO the first Snapper!
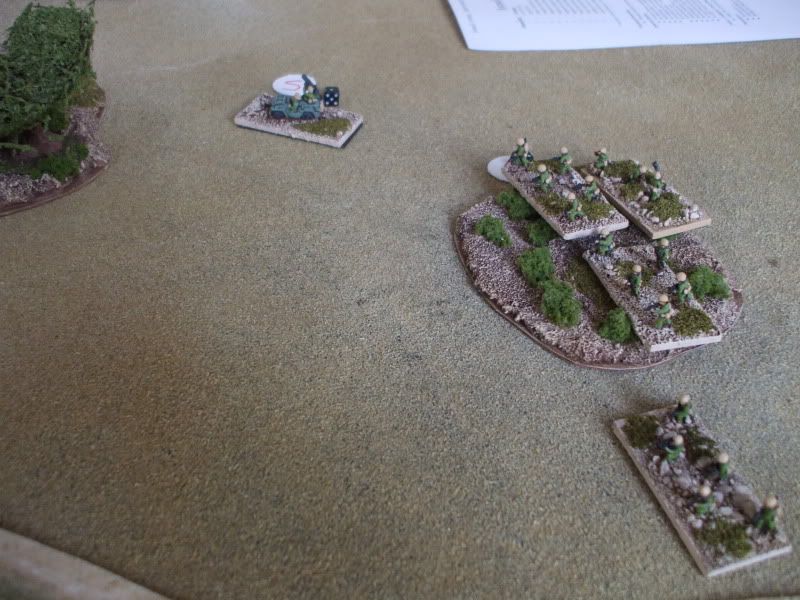
The second unit of Israeli Para’s advance down the flank.
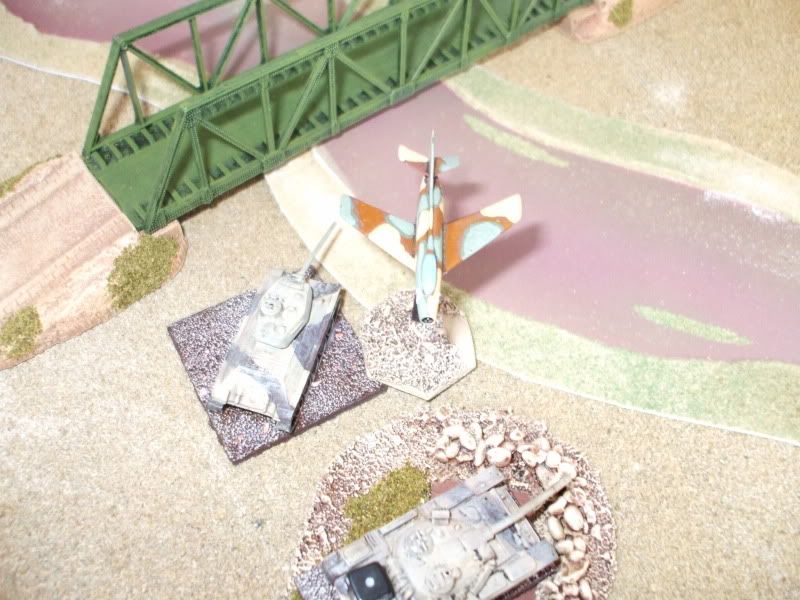
Turn 2:
[IMG]http://i14.photobucket.com/albums/a329/bad_dave/Picture008-1.jpg[/IMG]
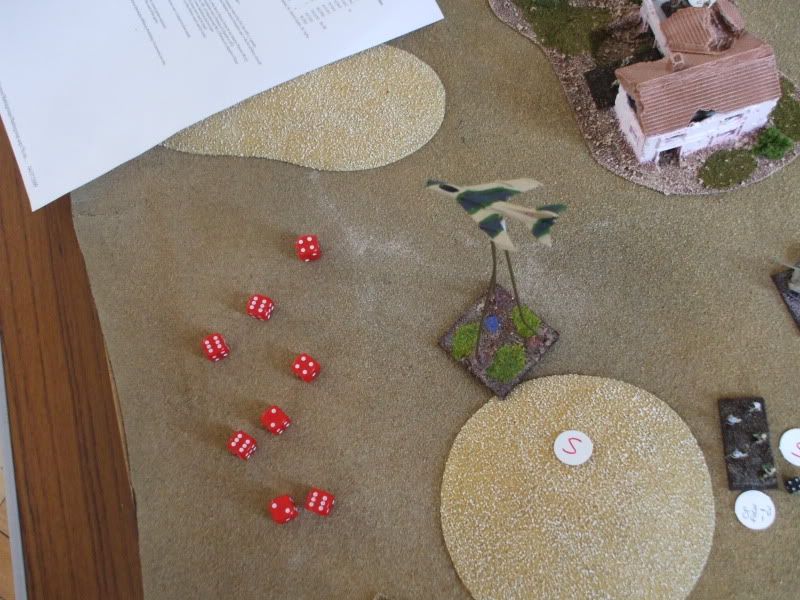
Egyptians have air superiority.
The Para’s mortar team opens fire but blunders and withdraws. Both sides trade artillery fire suppressing several stands, the Egyptian infantry by the girder bridge suffer!
The Egyptian mortars open up again and KO the Para’s Reece 4x4 and their other Recoilless Rifle 4x4!
Turn 3:
Egyptians have air superiority
.
Another arty dual ends with much suppression especially for our friends by the bridge.
On the flank the Para’s advance slowly towards the Egyptian position.
The Israeli plane makes an appearance, survives a hail of AA fire taking 1 point of damage but still managing to attack the infantry position near the bridge!
Turn 4:
Egyptians have air superiority.
The Para’s continue to shell the position by the bridge but the brave conscripts take it in their stride.
The ambushing T-34 continues to dual with the Para’s mortar.
The Para’s continue to advance down the left flank but this brings them into range of the Egyptian mortars who KO a stand.
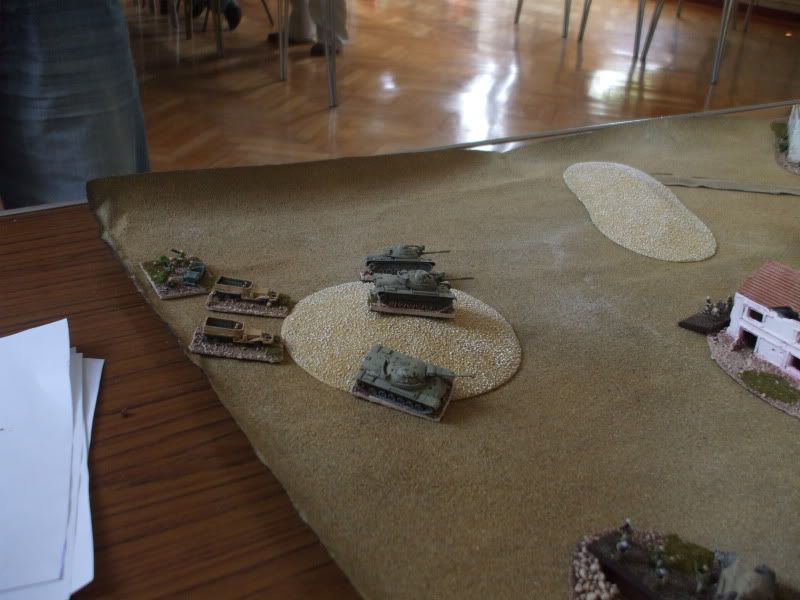
Turn 5
Israeli has air superiority
.
The Para’s drop arty onto the position by the bridge KO’ing a T-55 and suppressing the much shelled infantry section. The Egyptians artillery suppresses the Para’s slowing their advance!
However the Para’s mortars hit the Egyptians by the river who finally break and then flee the position! But they escape death!
The Egyptian mortars open up on a stand of Para’s first suppressing then, then forcing them back (1 more inch and they would have been out of range!), then KO’ing them!
The Israeli reinforcements fail to appear.
Turn 6:
Egyptians have air superiority.
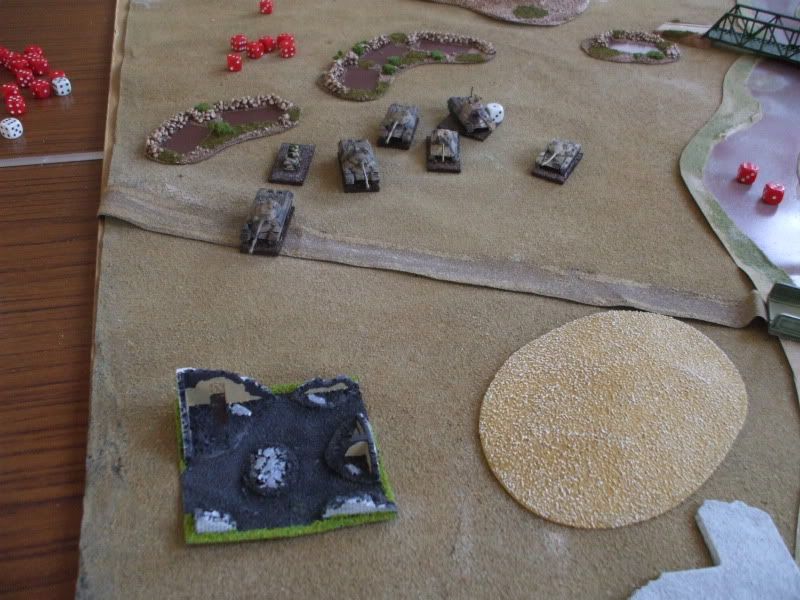
The first Israeli flanking force arrives (M48s and Infantry), they arrive on the left getting behind the defenders and wiping out two mortar stands, and the Egyptians call in some danger close artillery on them but it achieves little.
The defenders manage to get themselves turned around and taking advantage of a command bonus two T-34s and two stands of infantry combine to take out two stands of infantry and two half tracks!
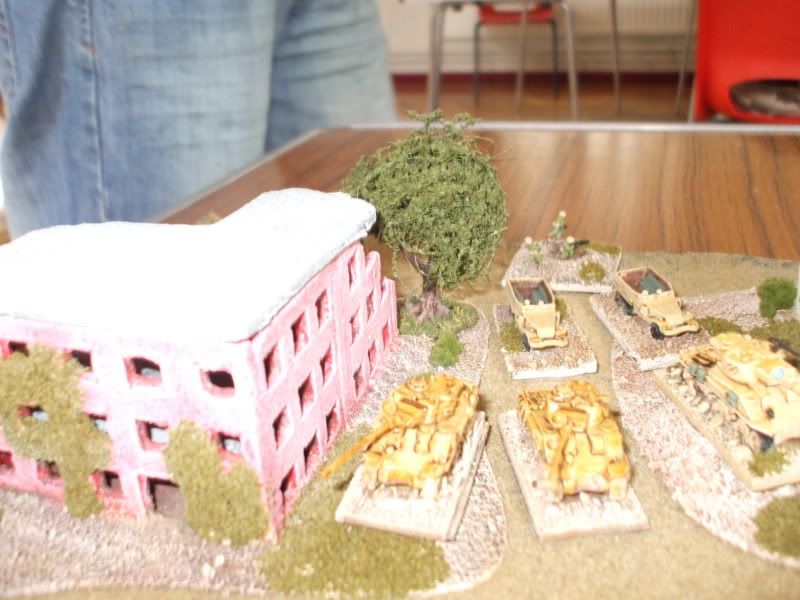
On the other flank the Ishermans and more infantry arrive, KO’ing a T-55, as the defenders start to turn the are hit by opportunity fire that suppresses several T-10s, however their commander then scores the second command bonus of the turn and the remaining T-34’s, T-10, T-55 and a snapper manage to KO all three Ishermans!
Back at the Para’s start line the T-34 suppresses the mortars.
On the other flank the last Egyptian mortar stand KO’s an infantry stand.
Turn 7:
The Israelis pass a break test at -4.
The Israelis have air superiority.
Israeli imitative fire KO’s a stand of infantry. On the left flank the T-34s combine to KO an M48 and a half track.
For the seventh turn the Israelis shell the same stand of infantry and finally KO them!
The Israelis send in the plane and it finally kills the ambushing T-34.

On the left flank the massed Egyptian armour shoots at one stand of infantry and fails to kill it!
Turn 8:
The Israelis pass their break test at -5 and have air superiority!
On the left flank the T-34s KO the last half track and the Egyptians plane wipes out their last infantry stand.
Both Para mortars teams pack up their mortars, race up the side of the river, redeploy and then fail to kill anyone!
The Israelis plane appears overhead and then gets shot down!
One Para sections charges across the scrub land and close assaults an Egyptian reece 4x4, forcing it to fall back!
On the right flank two sections of Israeli infantry are hiding in a building, 3 T-10s, 1 T-55, 1 T-34 and a snapper level the building killing them both! They then fire on a half track, score only 3 hits, which are then all saved!!! The Egyptians then blunder and shot each other up.
The Israelis fail to make a break test at -10!


Comments (0)
You don't have permission to comment on this page.