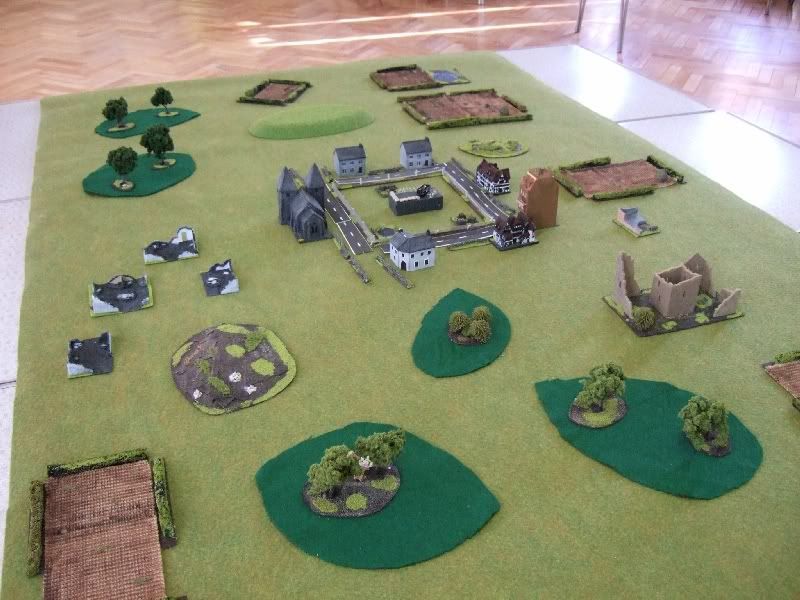
After the stalemate at the bridge over the River Absolut (CWC Game 2) both sides have withdrawn to their lines. Mean while in another part of Germany, a small force of British Para’s have dropped into the small town of Shotofstoliy in an attempt to seize a vital communication hub before the Soviet forces could, however the Soviets had already had the same idea and had dispatched a small force of special forces to the same location. A violent fire fight ensued and has left both forces low on ammo and struggling with a number of casualties, they are now dug in on opposite sides of the street, neither side has enough ammo to risk a prolonged engagement. They must wait for reinforcements to rescue them.
Terms of Engagement:
Each side deploys using mobile deployment from their respective table edges, with no flank deployment.
Weather conditions have worsened and air support is not available for this engagement.
Due to their low ammo and casualties special forces/Para’s will not engage in any form of combat until they have been collected by their own side or until the enemy reinforcements are within initiative distance.
+2 victory points for each stand of special forces/Para’s evacuated from their own table edge
+ 2 victory points for occupying the comm.’s centre at the end of the game
+ 2 victory points for breaking the opposition
The game will last for 12 turns.
British:
| 1 |
CO (CV10) |
| 2 |
HQ (CV9) |
| 1 |
FAO (CV8) |
| 1 |
Recce Unit (Fox) |
| 1 |
Recce Unit (Scimitar/Sabre) |
| 3 |
Infantry Unit (Paras/Marines) |
| 6 |
Infantry Unit (Regulars) |
| 6 |
Infantry Upgrade (Carl Gustav) |
| 2 |
Support Unit (ATGW, Milan 2) |
| 1 |
Tank Unit (Centurion, 105mm) |
| 3 |
Tank Unit (Challenger I) |
| 2 |
Artillery Unit (155mm) |
| 1 |
Transport Unit (Truck) |
| 6 |
Transport Unit (FV.432) |
Soviets:
| 1 |
CO (CV9) |
| 3 |
HQ (CV8) |
| 1 |
Recce Unit (BRDM) |
| 6 |
Infantry Unit (Conscripts) |
| 3 |
Infantry Unit (Spetsnaz) |
| 3 |
Infantry Upgrade (RPG-7) |
| 1 |
Support Unit (ATGW, Saxhorn) |
| 7 |
IFV Unit (BMP-2) |
| 3 |
Tank Unit (T-72) |
| 3 |
Tank Unit (T-80) |
| 4 |
Artillery Unit (122mm) |
| 1 |
Transport Unit (MT-LB) |
Turn 1
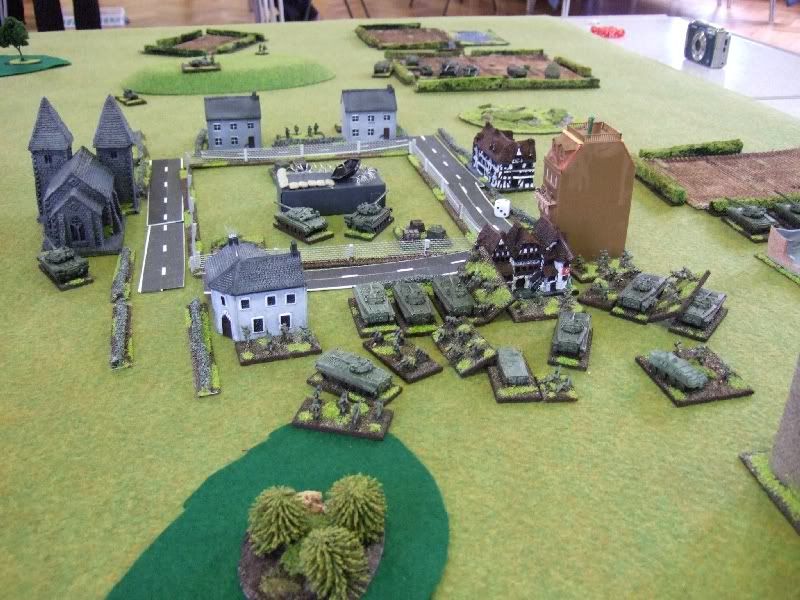
Both sides advanced towards the centrer of the board, the Soviets in three groups the British in two flank groups. No shooting.
Turn 2
On the left flank the Brits blunder and their forces withdraw, however the Russian centre storms forward and deploys all its infantry on the edge of town.
This looks like a tempting target for the British artillary...
Turn 3
The British arty missed!
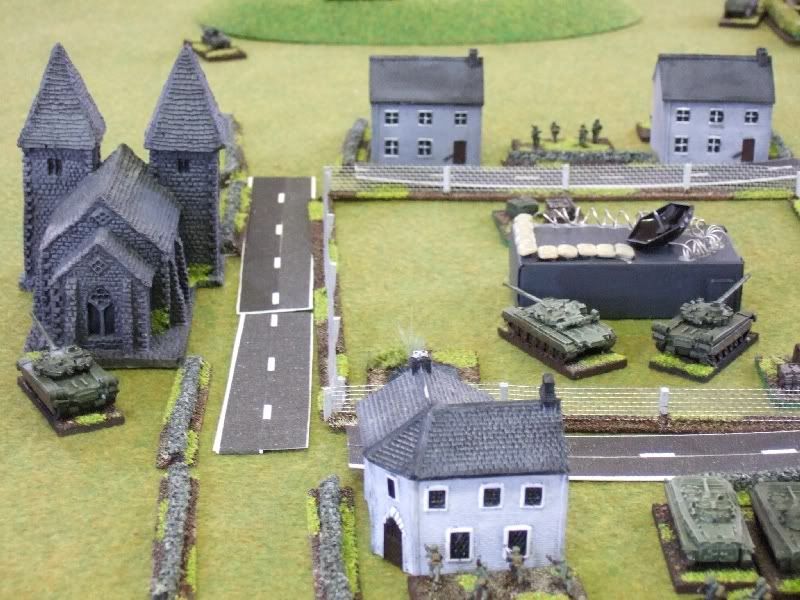
The soviet special forces mount up and prepare to withdraw, while their troops occupy some buildings, seeing this the British left flank HQ opts to turn his fire on the the three buildings, they are quickly levelled destroying the three infantry units inside them, the British also manage to wipe out a T-80 and a BMP-2 and advance some infantry into the centre of town!
Turn 4
The 3 BMP-2s carrying the Russian special forces almost make it off the board but a lucky long range shot from a Challanger manages to brew one up killing tis passengers, the other 2 escape. The exact same thing happens to the British transport units escaping with the Para's.
Impressivly the T-80 that chased the down the board and killed one of them was being commanded from the far side of town by Russian CO, however this did mark the end of the Soviet good dice rolling!
Turn 5
Some good work from the British artillary softens up a lot of Soviet units, as the British right flank finally puts in an apperance, doing a lot of damage as their HQ manages 5 succesive orders and also rolls a double 1!

The Soviet HQ called for his attached arty and promptly blunder but got away lightly!
The British managed to killed the last of the the Soviets 6 tank units with a determined close assualt, which also allowed them to seize the comms centre!
Turn 6
The Russians passed their break test, the promptly kill one of their 2 remaing units with an artillary blunder!
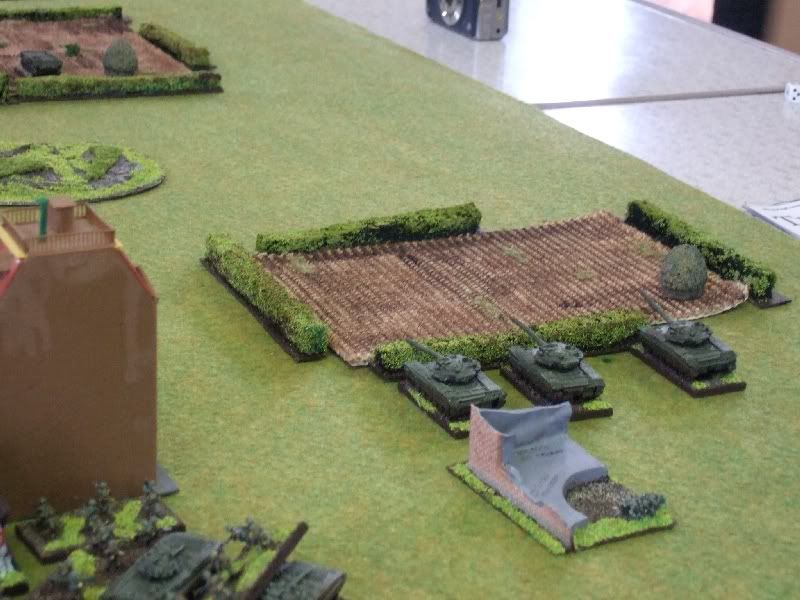
A lone challenger tries to route out the remaing Soviet forces in the wood, he fails but does survie both a round of ATGW fire and a heroic close assualt!

Turn 7
The Russians fail to produce the double 1 needed to keep them in the game and their single remaing no command unit with draws!
Brits 8 - 4 Soviets!
Comments (1)
Dave Roper said
at 3:49 pm on Nov 10, 2008
More pics to follow
You don't have permission to comment on this page.