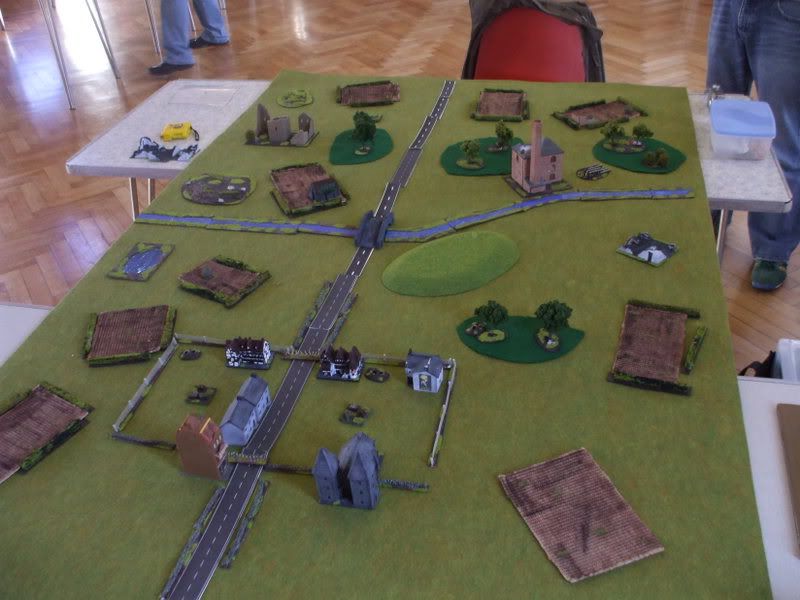
.The allies managed to land and force back the small Soviet garrison, however the Amerucan contingent took heavy casualties! (CWC Game 4) The allies are now digging in to hold their beachhead while 2nd waave reinforments arrive. In the distance hwoever the Soviets seem to have differant ideas...
British Forces:
| Quantity |
Troops |
| 1 |
CO (CV10) |
| 1 |
HQ (CV9) |
| 9 |
Infantry Unit (Regulars) |
| 6 |
Infantry Upgrade (Carl Gustav) |
| 1 |
Sniper Team (Sniper) |
| 1 |
Support Unit (MMG) |
| 1 |
Support Unit (ATGW, Milan 2) |
| 3 |
Support Unit (Mortar, 81mm) |
| 1 |
Tank Unit (Challenger I) |
| 1 |
Air Defence Unit (SAM, Rapier) |
| 1 |
Tank Unit (Centurion, 105mm) |
Soviet Forces:
| Quantity |
Troops |
| 1 |
CO (CV9) |
| 4 |
HQ (CV8) |
| 1 |
FAC (CV6) |
| 1 |
Recce Unit (BRDM) |
| 9 |
Infantry Unit (Conscripts) |
| 7 |
Infantry Upgrade (RPG-7) |
| 1 |
Support Unit (ATGW, Saxhorn) |
| 7 |
IFV Unit (BMP-2) |
| 3 |
Tank Unit (T-72) |
| 3 |
Tank Unit (T-80) |
| 6 |
Artillery Unit (122mm) |
| 1 |
Attack Helicopter (Mi-24 Hind F) |
| 1 |
Transport Unit (Helicopter, Mi-8 Hip) |
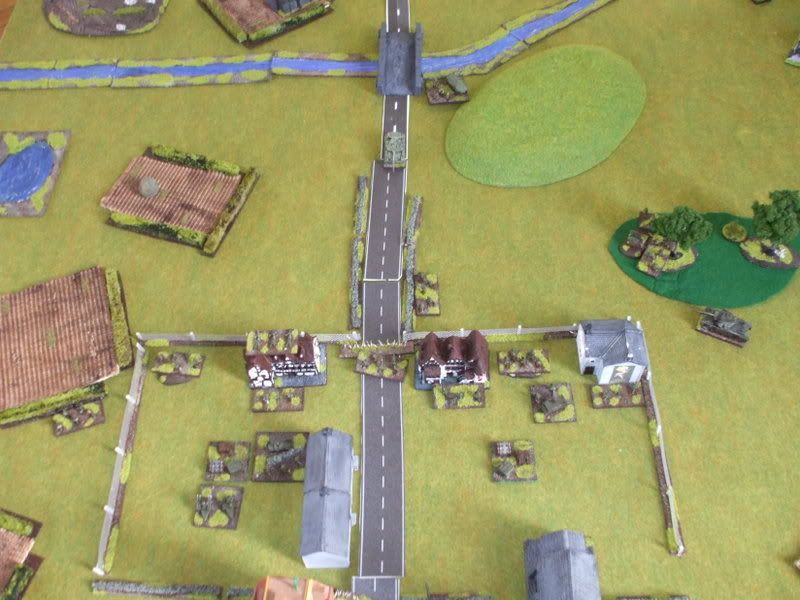
Turn 1:
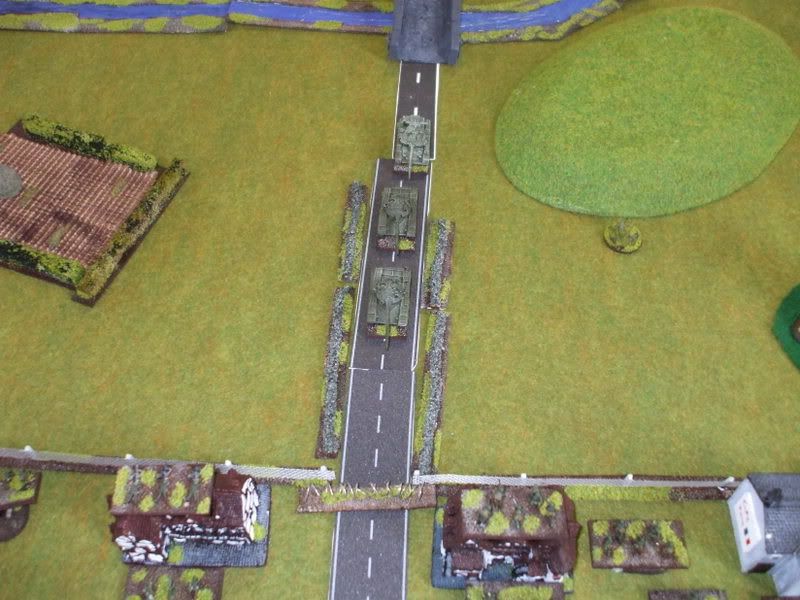
One Russian group fialed to arrive but the other (T-80 company) advanced well, crossing the brdige over the river due to a lucky double one from the CO! The British waited,
Turn 2:
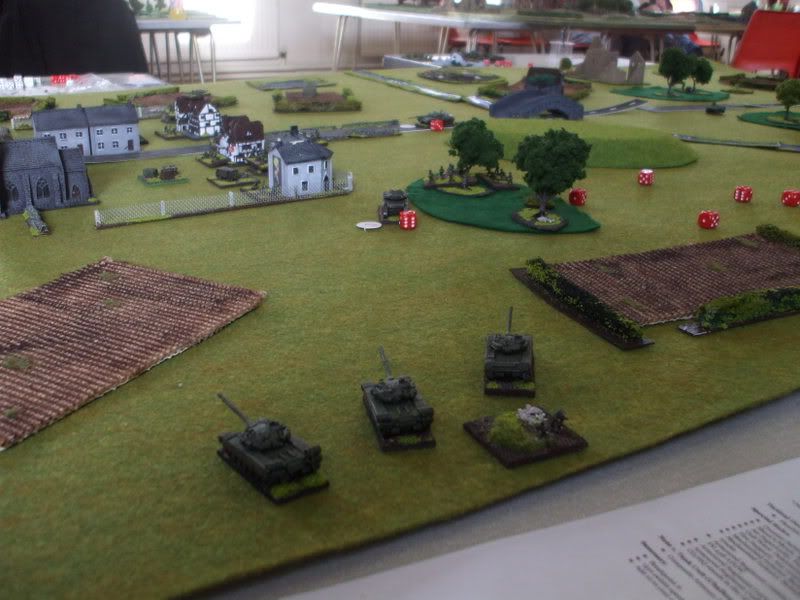
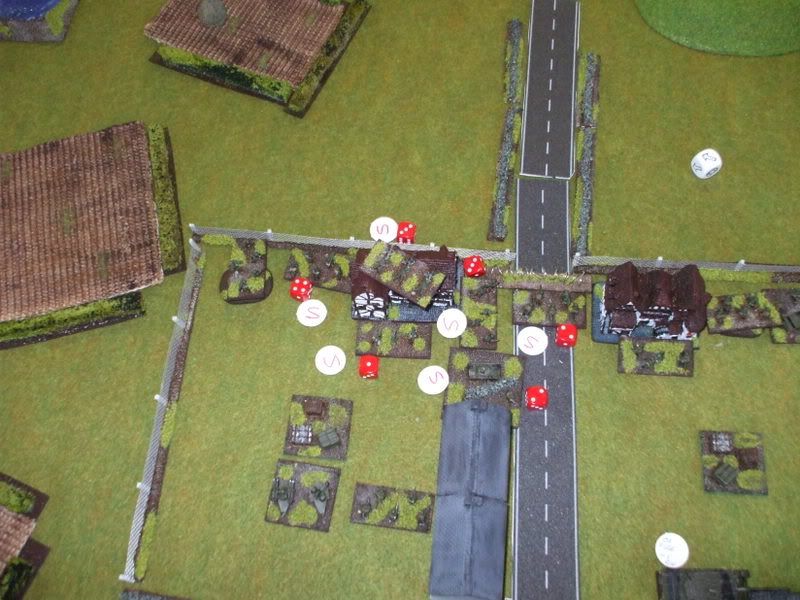
The second Russian battlegroup arrived and began its advance, mean while the cocky t-80's got a little to close to a hidden British milan team and several units of infantry, who quickly accounted for two of them!
Turn 3:
A fllanking force of a company of T-72's arrived and then all three off them opened up on a loan Centurion who managed to survive that pounding!! AA fire forces the Hind attacl helicopter to abort.
Turn 4:
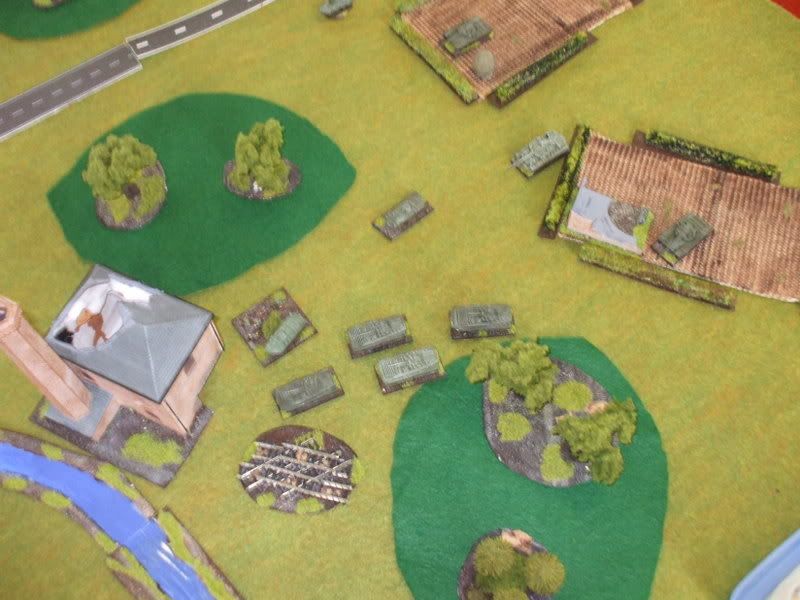
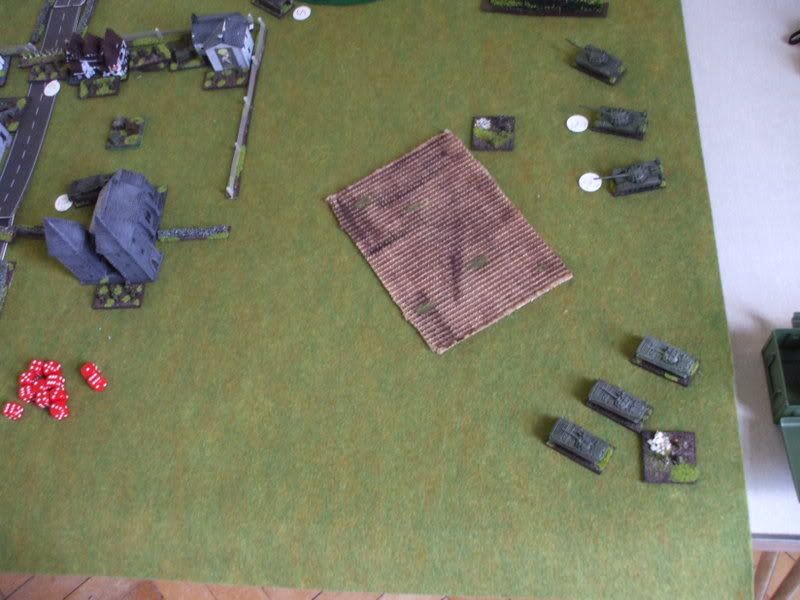
British fire from a dugs in a small wood accounts for a BMP and 2 sections of infantry, mean while the brave centurion is taken by a lucky shot as it tries to put the wood between it and the T-72's.
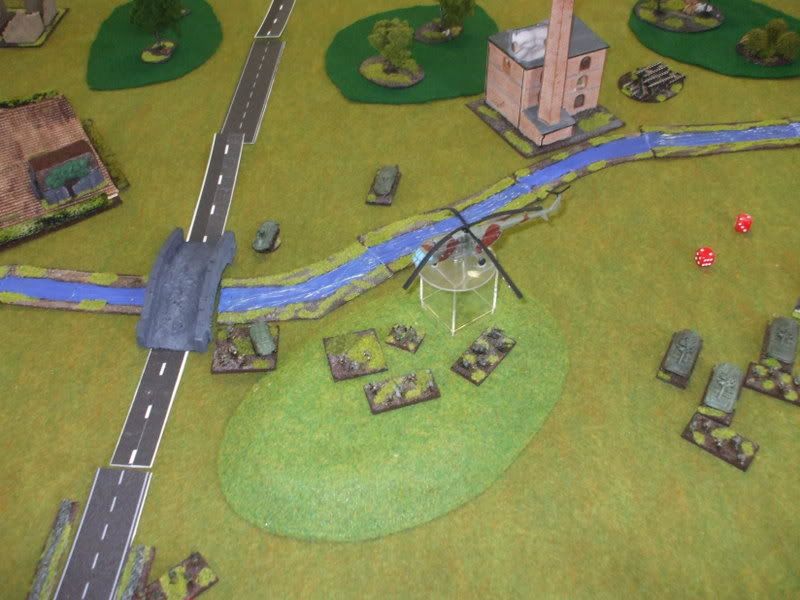
More flankers arrive, the Soviet airborne forces deploy via helicopter in the centre of the board. While Soviet arty starts to soften up the British centre.
Turn 5:
In a turn of brutal fighting from both sides the British lost a mortar team and 2 sections of infantry to the Soviets T-80, BMP-2 and 2 sections of infantry.
Turn 6:
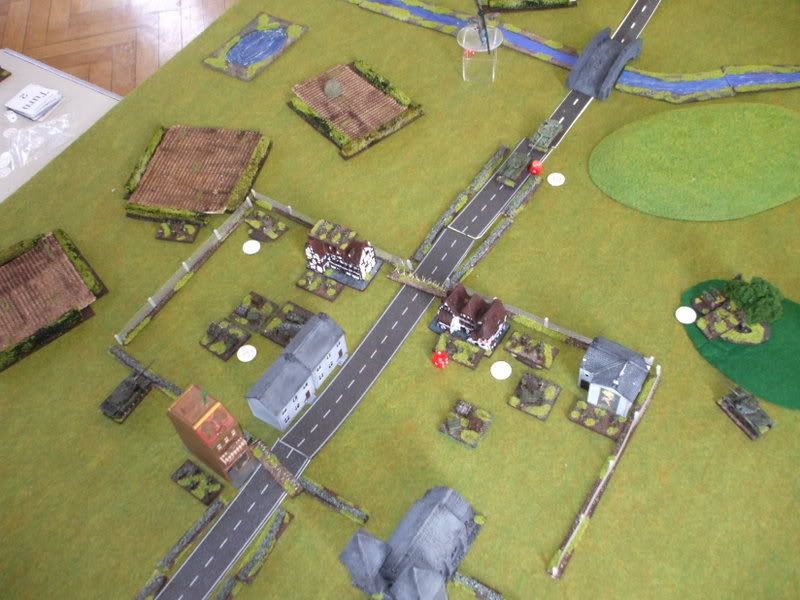
The Soviets unleash massed arty and chemical rounds, causing a lot of hits and suppression but no KO's. In response the British poured fire on to the Soviet centre advance and pushed it back.
Turn 7:
The Brits squashed what was left of the helicopter troops with milan and rifle fire! The soviets respond with a sustained infantry/bmp assualt to the rear of the British position.

Turn 8:
Things seemed to be swinging in the favour of the British as they wiped out the Soviet rear attack and shot down the Hind!
The end:
The Soviets were well past their breakpoint but did not have to take the test, so in the end it was a minor victory for both sides, so we called it a draw, the Brits had knocked out 17 stands to the Soviets 7! A sort of Pyrrhic draw for the Soviets!


Comments (0)
You don't have permission to comment on this page.